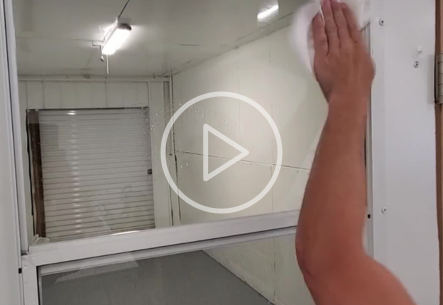

Ghost glass sample installation
Welcome to our website page offering Smart Film Sample Kits, the perfect way to experience the versatility and functionality of smart film firsthand. Our sample kits provide you with a selection of smart film swatches and samples, allowing you to see and feel our high-quality materials. Explore the different transparency levels, colors, and patterns available, and discover the perfect fit for your project or application. Whether you're an architect, designer, or simply curious about the possibilities of smart film, our sample kits offer a convenient and affordable way to explore this innovative technology. Get inspired, unleash your creativity, and make an informed decision with our Smart Film Sample Kits.

SMART GLASS SAMPLE KIT
SMART GLASS SAMPLE KIT
In the sample kit you will find:
2 AA Batteries
1 Remote Control
6"x6" Pre-Wired Sample of our privacy film
Blue Applicator
$60/per kit (including shipping)
PRO TIPS FOR INSTALLATION
Keep Ghost Glass™️ Smart Film flat and straight at all times. DO NOT FOLD, BEND, OR KINK in any way, that will severely damage the film.
Keep your working environment as clean and dust-free as possible for optimal results.
When measuring the outer dimensions, the film should be 2-3mm shorter than the glass area.
The protective layer covering the non-adhesive side should be kept on the film until the installation process is finished.
You may wear nitrile gloves during installation; remove the protective layer from the adhesive side before starting the installation.
Installation Procedure
NOTE: It is recommended not to turn on the air conditioner during installation.
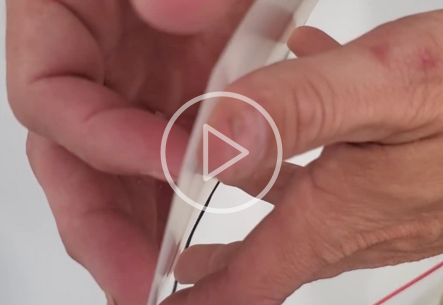
Part 1: Preparing the Smart FILM
STEP 1.1: Open the box and place the Smart Self-Adhesive Film (“FILM”) on a clean flat surface.
STEP 1.2: Ensure that the adhesive side is facing up. Do not remove the protective layer until you are instructed in this procedure to do so. The adhesive side is usually marked with a label or a red stamp.
NOTE: When touching the self-adhesive side, the surface is a little sticky, on the other side, with no self-adhesive function, the surface is smooth. If there is any dirt on the surface, you can use isopropyl alcohol to clean it. Don’t worry, the self-adhesive function will be working well still.